13. External Libraries
13 External Library
1- Copy this code to your editor and save it on your VM Desktop as LoadImage.cpp:
#include <opencv2/opencv.hpp>
#include <iostream>

using namespace cv;
using namespace std;

int main( )
{
    Mat image = imread("Udacity.png", CV_LOAD_IMAGE_COLOR);

    namedWindow( "Display window", WINDOW_AUTOSIZE );

    imshow( "Display window", image );

    cout << image;

    waitKey(0);

    return 0;
}
2- Now, open a Linux terminal and install the OpenCv library:
$ sudo apt install libopencv-dev3- Enter the password when prompted:
$ robo-nd4- Do a quick check to verify the installation of OpenCV library on the system.
$ pkg-config --libs opencvYou should be able to see all the library files in the Linux terminal which indicates that OpenCV is now installed.
5- Then, download the Udacity image and store it on your Desktop
6- After copying the code and downloading the image, navigate to Desktop:
$ cd Desktop7- Next, compile your code with g++ and add an extra statement to link the OpenCV library.
$ g++ LoadImage.cpp -o app `pkg-config --cflags --libs opencv`8- Go ahead and run your program:
$ ./app9- You should see the pixel values of the image displayed in the terminal and the Udacity image loaded in the display window.
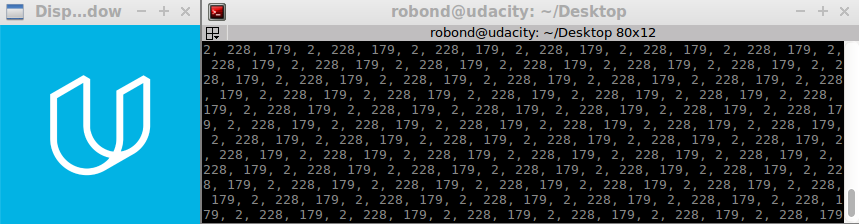
10- If you wish to close the image and terminate the operation, press any key on your keyboard such as w.
OpenCV:
This is the official documentation of OpenCV where you can discover all the functions supported.
Matrix Objects